
Less than a year ago, I was tasked with setting up a dummy Jenkins environment on top of OpenShift for a training session. The goal was to simulate a real-world CI/CD pipeline where trainees could independently deploy their applications to the same OpenShift cluster.
During my research, I noticed there was limited documentation on deploying both Jenkins master and agents directly on Kubernetes. In most cases, Jenkins agents were still being deployed on virtual machines rather than as pods. Since we didn’t have additional servers available, I had to make several adjustments to run both the Jenkins master and agents as pods within the cluster. After some tweaking and fine-tuning, it worked quite well.
For those who are new to Jenkins, it is an open-source automation server widely used in DevOps to automate software build, testing, and deployment processes.

The architecture follows the traditional Jenkins model, consisting of a master (controller) and one or more agents (the components responsible for executing jobs and tasks).
In this setup, we deploy one master pod and one agent pod, with the agent running in standby mode, meaning it is always up and ready to accept jobs. There is also an option to use ephemeral, job-based agents where a new pod is created for each pipeline execution and terminated once the job completes.
However, in my experience, pod startup time can become a bottleneck, especially in a training environment where multiple students tend to trigger their pipelines simultaneously.
This article is split into three sections:
- Deploying Jenkins Master
- Deploying Jenkins Agent/Slave
- (Optional) Modifying Jenkins Master and Agent to Make A Simple OpenShift Pipeline
Deploying Jenkins Master
The steps are as follows:
- Create a namespace:
kind: Namespace
apiVersion: v1
metadata:
  name: jenkins
  annotations:
    openshift.io/node-selector: node-role.kubernetes.io/worker=
2. Create a persistent volume (PV) and persistent volume claim (PVC) for the Jenkins master.
The Jenkins master requires persistent storage to retain all of its data, including pipeline configurations, shared libraries, plugins, and credentials. This is where the PersistentVolume (PV) and PersistentVolumeClaim (PVC) come into play.
You should adjust the storage class and capacity according to your environment and available infrastructure. In my case, I provisioned a 1Gi volume backed by an NFS server, which was sufficient for this training setup.s time.
kind: PersistentVolume
apiVersion: v1
metadata:
  name: <pv-name>
spec:
  capacity:
    storage: 1Gi
  nfs:
    server: <ip-addr>
    path: /nfs/jenkins
  accessModes:
    - ReadWriteMany
  persistentVolumeReclaimPolicy: Retain
  storageClassName: nfs
  volumeMode: Filesystem
---
kind: PersistentVolumeClaim
apiVersion: v1
metadata:
  name: <pvc-name>
  namespace: jenkins
spec:
  accessModes:
    - ReadWriteMany
  resources:
    requests:
      storage: 1Gi
  volumeName: <pv-name>
  storageClassName: nfs
  volumeMode: Filesystem
3. Create a Jenkins Deployment and mount the PersistentVolumeClaim (PVC) to the path /var/jenkins_home, which is the default directory where Jenkins stores its configuration, jobs, plugins, and credentials.
kind: Deployment
apiVersion: apps/v1
metadata:
  name: jenkins
  namespace: jenkins
  labels:
    app: jenkins
spec:
  replicas: 1
  selector:
    matchLabels:
      app: jenkins
  template:
    metadata:
      labels:
        app: jenkins
        deployment: jenkins
    spec:
      volumes:
        - name: jenkins-data
          persistentVolumeClaim:
            claimName: <pvc-name>
      containers:
        - name: jenkins
          image: 'jenkins/jenkins:lts'
          ports:
            - name: httpport
              containerPort: 8080
              protocol: TCP
            - name: jnlpport
              containerPort: 50000
              protocol: TCP
          resources:
            limits:
              cpu: '1'
              memory: 2Gi
            requests:
              cpu: 400m
              memory: 512Mi
          volumeMounts:
            - name: jenkins-data
              mountPath: /var/jenkins_home
          terminationMessagePath: /dev/termination-log
          terminationMessagePolicy: File
          imagePullPolicy: IfNotPresent
      restartPolicy: Always
      terminationGracePeriodSeconds: 30
4. Create a Service and a Route to expose the Jenkins master so that the Jenkins console can be accessed via a URI. If you are not using OpenShift, replace the Route resource with the appropriate ingress mechanism available in your Kubernetes environment (for example, an Ingress resource).
kind: Service
apiVersion: v1
metadata:
  name: jenkins
  namespace: jenkins
  labels:
    app: jenkins
spec:
  ipFamilies:
    - IPv4
  ports:
    - name: 50000-tcp
      protocol: TCP
      port: 50000
      targetPort: 50000
    - name: 8080-tcp
      protocol: TCP
      port: 80
      targetPort: 8080
  internalTrafficPolicy: Cluster
  type: ClusterIP
  sessionAffinity: None
  selector:
    app: jenkins
    deployment: jenkins
---
kind: Route
apiVersion: route.openshift.io/v1
metadata:
  name: jenkins
  namespace: jenkins
  labels:
    app: jenkins
spec:
  host: <hostname>
  to:
    kind: Service
    name: jenkins
    weight: 100
  port:
    targetPort: 8080-tcp
  tls:
    termination: edge
  wildcardPolicy: None
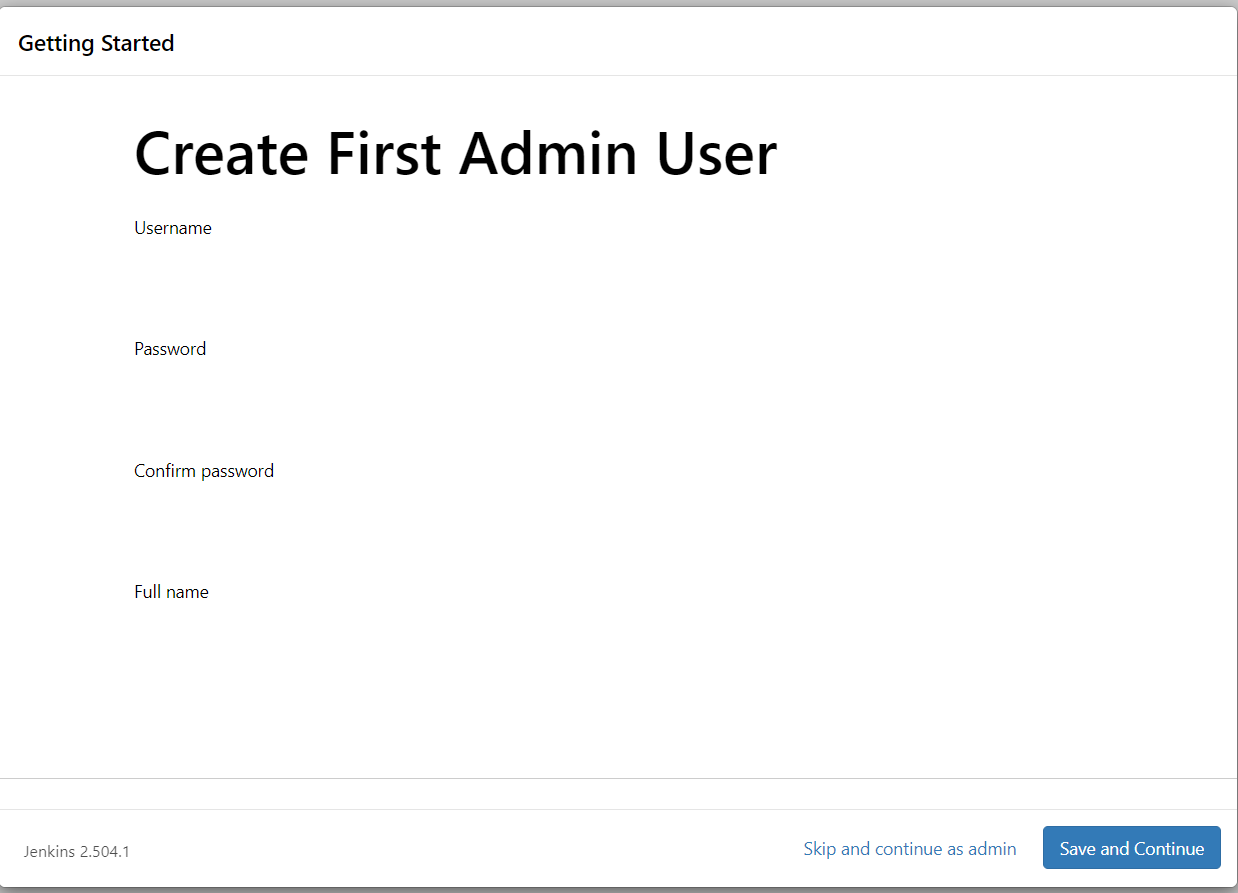
5. Access the Jenkins console using the Route you created earlier, then follow the on-screen setup instructions to create and configure the administrator credentials..
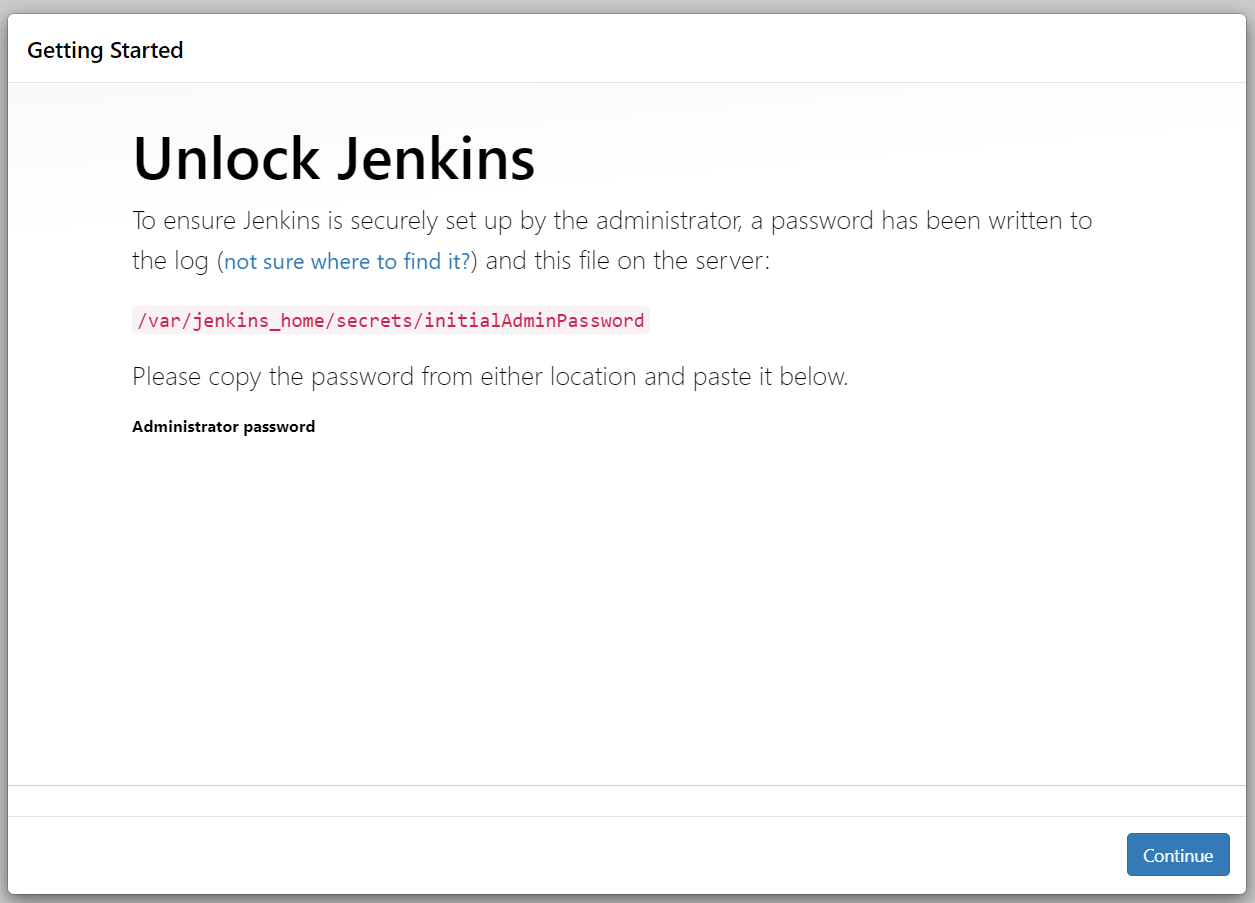
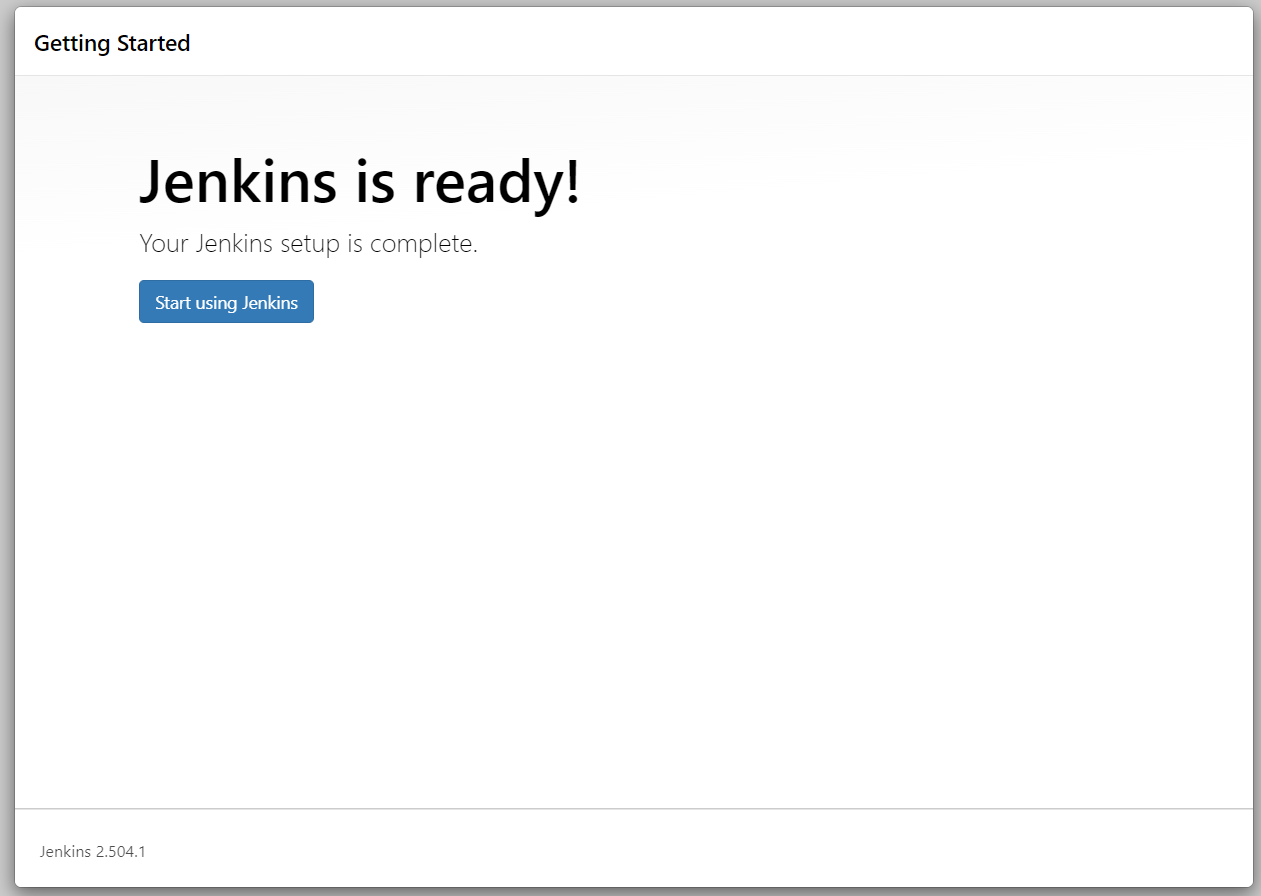
Congratulations! You’ve successfully deployed your Jenkins master!
At this point, you could choose to run your jobs directly on the master pod (also known as the “built-in node”). However, I strongly recommend going a step further by setting up dedicated agents (or slaves) to execute your pipelines.
Using the Jenkins master both as the controller and as a build executor is generally not considered best practice, especially in production environments as it can impact stability, performance, and security.
Deploying Jenkins Agent/Slave
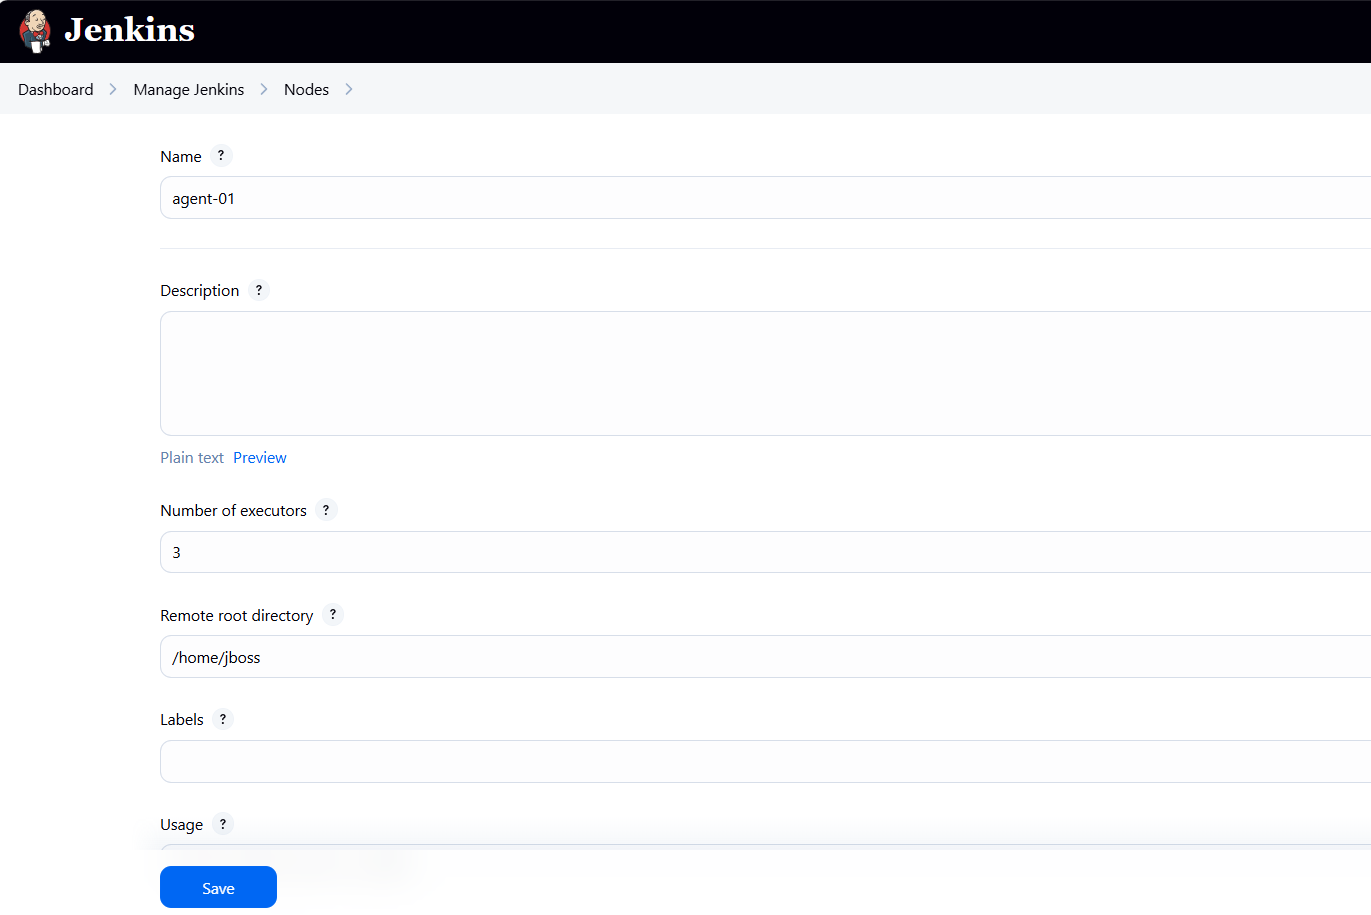
Open the Jenkins console and navigate to Manage Jenkins → Nodes.
You’ll notice that one node is already available — the built-in node. Click the “New Node” button to create a new node.

Name your node as you like. You will need to state the number of executors (how many jobs can run in parallel on one agent pod), and the remote root directory of the agent pod. Here, i will be using a Java pod with a RedHat UBI8 base image, so i am setting the remote root directory to /home/jboss. You can always modify the number of executors and the remote root directory based on your use case.
After clicking “Save”, Jenkins will provide instructions to download a JAR file (agent.jar), which we will use to run the agent as a pod. Download this agent.jar file to your local machine, package it into a container image, and deploy that image with the required JAVA_ARGS environment variables (as shown in the Jenkins instructions).
At minimum, we will define five JAVA_ARGS parameters: -url, -secret, -name, -webSocket, and -workDir. Each of these parameters controls how the Jenkins agent connects and communicates with the master. For example, the -url parameter specifies the hostname of the Jenkins master that the agent will connect to.
Since both the master and agent are deployed within the same OpenShift cluster, the agent can connect either via the internal service endpoint (<deployment-name>.<namespace>.svc.cluster.local) or through the master’s Route hostname. In this setup, we are using the internal service endpoint.
I recommend defining the JAVA_ARGS environment variables in the Deployment YAML rather than embedding them directly in the Dockerfile or container image. This approach allows you to reuse the same agent image for multiple agent pods. Each new Jenkins node will have its own unique name, secret, and connection details, but all can rely on the same base agent.jar. By keeping JAVA_ARGS separate from the image, you avoid rebuilding the image every time you create a new agent.

Because i am using OpenShift this time, i can use the Developer tab to directly build a container image from JAR file, using the “Upload JAR file” command.
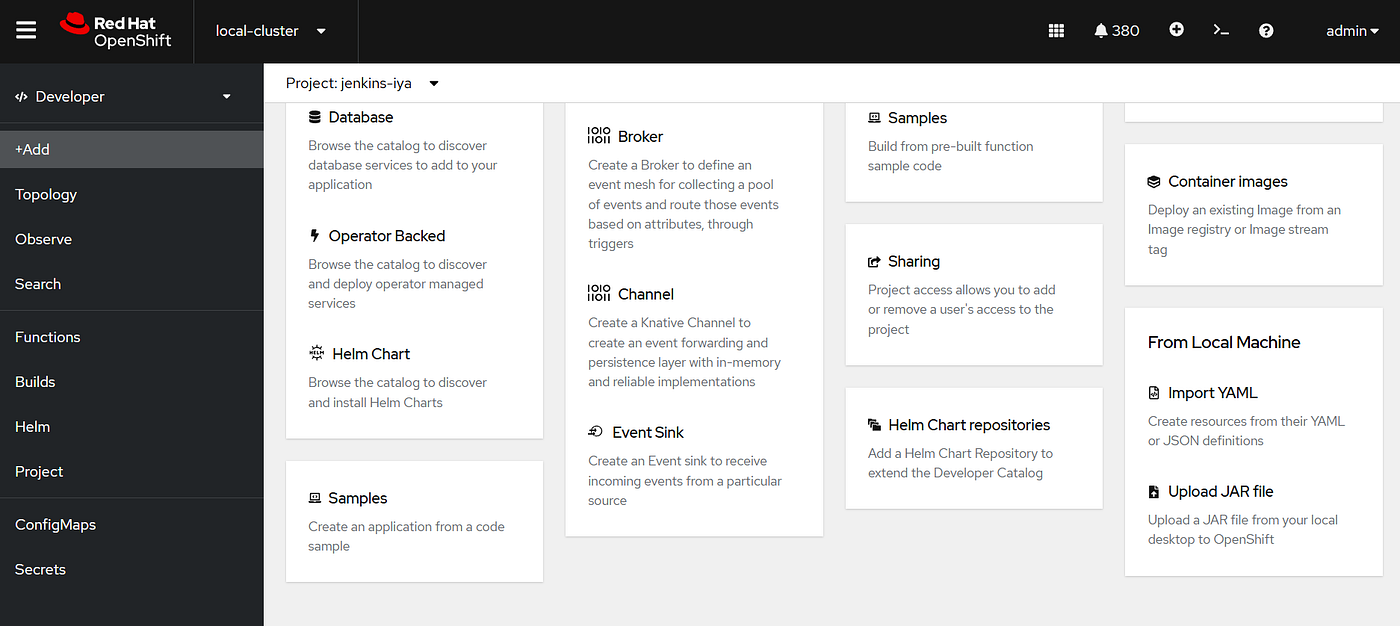
I named my deployment “agent-01”. You can leave the JAVA_ARGS empty at this point, because we are setting the arguments on the deployment YAML instead. For the builder image, we are using OpenJDK 21 from RedHat Registry.

After you are done with this process, you will automatically have three important components ready: an agent image, a deployment, and a service.
Get stories in your inbox
If you are deploying this on top of Kubernetes, you may need to build the JAR yourself using a simple Dockerfile, push that image to your preferred registry, then adjust the deployment.yaml accordingly.
Dockerfile
FROM registry.access.redhat.com/ubi8/openjdk-21 as BUILD
COPY agent.jar /deployments/agent.jar
EXPOSE 80
Deployment.yaml
kind: Deployment
apiVersion: apps/v1
metadata:
  name: agent-01
  namespace: jenkins
  labels:
    app: agent-01
spec:
  replicas: 1
  selector:
    matchLabels:
      app: agent-01
  template:
    metadata:
      labels:
        app: agent-01
        deployment: agent-01
    spec:
      containers:
        - resources:
            limits:
              cpu: '1'
              memory: 2Gi
            requests:
              cpu: 400m
              memory: 512Mi
          terminationMessagePath: /dev/termination-log
          name: agent-01
          env:
            - name: JAVA_ARGS
              value: '-url http://jenkins.jenkins.svc.cluster.local  -secret <secret-number> -name agent-01 -webSocket -workDir /home/jboss'
          ports:
            - containerPort: 8080
              protocol: TCP
            - containerPort: 8443
              protocol: TCP
          imagePullPolicy: Always
          terminationMessagePolicy: File
          image: 'image-registry.openshift-image-registry.svc:5000/<namespace>/agent-01:latest'
      restartPolicy: Always
      terminationGracePeriodSeconds: 30
      dnsPolicy: ClusterFirst
      securityContext: {}
      schedulerName: default-scheduler
After the agent pod is running, you will see in your Jenkins console -> Manage Nodes page that agent-01 is active and ready to use.

Congratulations ! You’ve successfully deployed a Jenkins agent on OpenShift!
Configuring Jenkins Master and Agent to Create A Simple Pipeline
HHere, we’ll simulate a simple pipeline consisting of three steps:
- Clone a Git repository containing all the OpenShift YAML files for a namespace, including
deployment.yaml,service.yaml,buildconfig.yaml,imagestream.yaml, etc. - Apply all YAML files to a specific OpenShift namespace using the
oc applycommand. - Trigger a build based on the BuildConfig YAML to create the image.
The pipeline will take the following inputs: a Git repository URL (along with its branch and folder), the target namespace, and the deployment name. For simplicity, the Git repository used in this example will not require authentication. The five string parameters are:
- Git
- Branch
- Folder
- Project
- Deployment
To make sure all necessary commands and plugins are available, we will modify the Jenkins agent image via a Dockerfile. In this image, we’ll install the OpenShift CLI (oc), Git, and several Kubernetes and OpenShift plugins. Alternatively, you could install these plugins directly via the Jenkins console if preferred.
For the oc command, I’ve already downloaded the Linux version from the official OpenShift documentation, so we just need to copy it into the Docker image: OpenShift CLI Download.
Jenkins Master Dockerfile
FROM docker.io/jenkins/jenkins:lts-jdk17 as BUILD
USER root
ENV JAVA_OPTS="-Dhttp.proxyHost=<proxy-hostname> -Dhttp.proxyPort=<proxy-port> -Dhttps.proxyHost=<proxy-hostname> -Dhttps.proxyPort=<proxy-port>"
RUN jenkins-plugin-cli --verbose --plugins "docker-plugin docker-workflow kubernetes-cli openshift-k8s-credentials openshift-client openshift-login openshift-sync kubernetes-client-api kubernetes-credentials-provider openshift-pipeline"
COPY oc /usr/bin/oc
RUN chmod +x /usr/bin/oc
ENV JAVA_OPTS=""
ENV JENKINS_OPTS=""
USER 1000
Jenkins Agent Dockerfile
FROM registry.access.redhat.com/ubi8/openjdk-21 as BUILD
USER root
COPY oc /usr/bin/oc
RUN chmod +x /usr/bin/oc
COPY agent.jar /deployments/agent.jar
RUN microdnf install -y git
RUN git config --global http.sslVerify false
EXPOSE 80
USER 1000
After the Jenkins master and agent are up and running, you can start creating your pipeline.
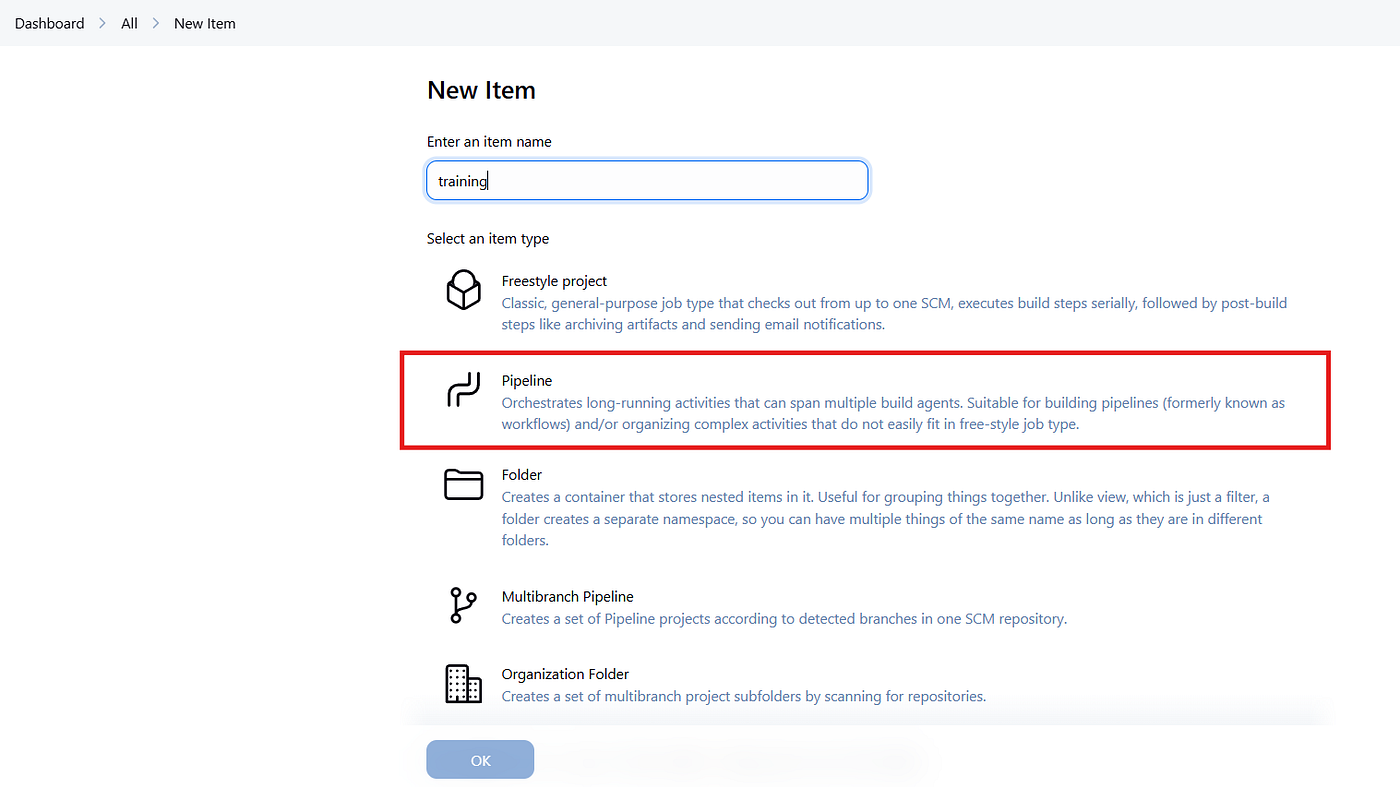
Make sure to enable the “This project is parameterized” option and define all five required string parameters. These parameters can then be referenced in your pipeline script using ${params}.
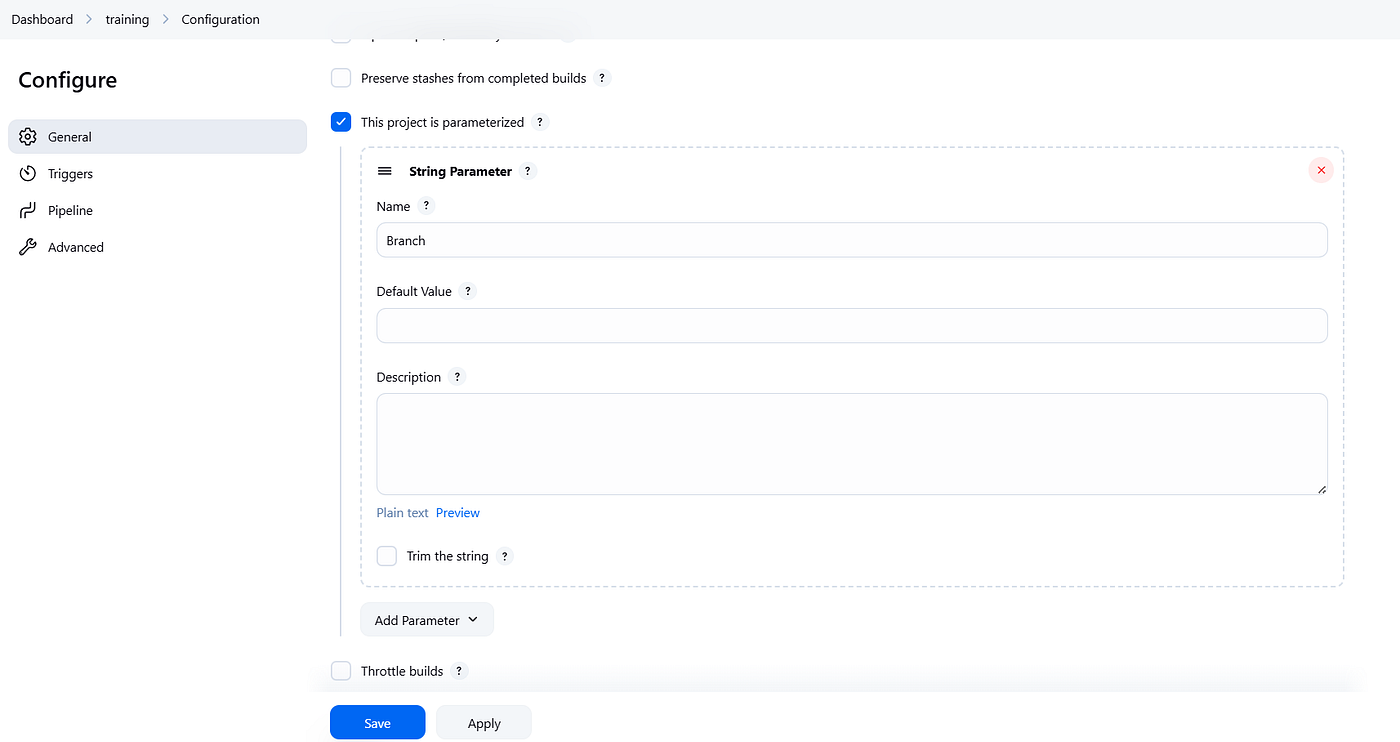
In the Pipeline section, enter your pipeline script. In this example, I’m using a Groovy file to define the pipeline steps. Once this is configured, your setup is complete, and you can start running the sample pipeline directly from the Jenkins console.
Test.groovy
pipeline {
    agent any
    parameters {
        string(name: 'Git', defaultValue: '', description: 'Git repository URL')
        string(name: 'Branch', defaultValue: 'main', description: 'Git branch')
        string(name: 'Folder', defaultValue: '', description: 'Folder path in repo with YAMLs')
        string(name: 'Project', defaultValue: '', description: 'OpenShift project/namespace')
        string(name: 'Deployment', defaultValue: '', description: 'Deployment/BuildConfig name')
    }
    stages {
        stage('Clone Git') {
            steps {
                script {
                    git branch: "${params.Branch}", url: "${params.Git}"
                }
            }
        }
        stage('Apply YAML') {
            steps {
                script {
                    // Make sure OpenShift client plugin is installed
                    openshift.withCluster() {
                        openshift.withProject("${params.Project}") {
                            dir("${params.Folder}") {
                                def files = findFiles(glob: '*.yaml') + findFiles(glob: '*.yml')
                                files.each { file ->
                                    openshift.raw("apply -f ${file.path}")
                                }
                            }
                        }
                    }
                }
            }
        }
        stage('Start Build') {
            steps {
                script {
                    openshift.withCluster() {
                        openshift.withProject("${params.Project}") {
                            openshift.raw("start-build ${params.Deployment}")
                        }
                    }
                }
            }
        }
    }
}
Congratulations! You’ve successfully created a simple OpenShift pipeline using Jenkins, all running on OpenShift!
From here, you can explore countless scenarios, extend your pipeline, and add more agents to handle additional jobs simultaneously. Cheers, and see you in the next article!
I’m a cloud-native software architect passionate about building resilient, scalable systems. My work focuses on Java and modern frameworks like Quarkus, Spring, microservices architecture, Kubernetes, Service Mesh, and DevSecOps automation. I’m currently working as Consulting Architect in Red Hat Asia Pacific.